Hi It's Patty
Today I would like to share with you my 3rd part in my A Christmas Star Mini Album.
This video will complete the making of the whole album but I will be back with a part 4 showing you all the fun inserts we can make for this.
I'm so happy how this came out and my special spine decorating I tried with this.
In this video I show you how to make the front and back covers as well as the pages that attach to them. On the front of the cover I have a see threw window made with Crea-Nest-Lies XXL no:102 Your photo can slip in threw the side. To make these final pages I used Crea-Nest-Lies XXL no:24 for my base pages and Crea-Nest-Lies XXL no:95 for my pattern paper.
Both inside front and back cover I made matching again but they mirror each other.
To make these pages I used the new Harmonica Pocket die CLJP654 from Journalzz and Plannerzz and added the Small Pocket Die no:653 For Journalzz and Plannerzz on top to keep my photo flap held down when a tag is added to the small pocket. My photo flap is make with the Medium Pocket Die no:652 For Journalzz and Plannerzz
I had a special idea for the wrap on the spine, I used Mini Albums CLMA98 to add holes on my spine and wrap ribbon between the front and back covers. I also used Mini Albums Binding System C the smaller piece to make the side pattern paper to wrap my ribbon thru.
I think it came out so pretty.
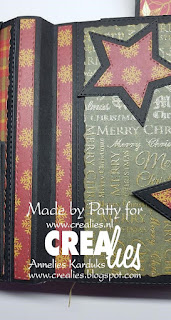
Here is a closer look at some of the details of the dies.
To see how to make these final pages and the wrap on the spine check out the video below.
Thank you for stopping by.
Patty
Crealies Dies/ Stansens
For Journalzz and Plannerzz


Geen opmerkingen:
Een reactie posten